在微服务中,会涉及到服务网关和服务注册等,服务网关的话,在Java中有许多的开源方案,在.net的话就比较少了可以用Kong、Ocelot、Surging还有新起的incubator-apisix。服务注册中心有Consul、Spring Cloud、Nacos、zookeeper、etcd等。这里的话我们就借助Kong和Consul来实现服务网关以及服务的注册发现。
Docker安装Kong&Consul
这里我们先编写一个docker-compose.yml文件
1
2
3
4
5
6
7
8
9
10
11
12
13
14
15
16
17
18
19
20
21
22
23
24
25
26
27
28
29
30
31
32
33
34
35
36
37
38
39
40
41
42
43
44
45
46
47
48
49
50
51
52
53
54
55
56
57
58
59
60
61
62
63
64
65
66
67
68
69
70
71
72
73
74
75
76
77
78
79
80
81
82
83
84
85
86
87
88
89
90
91
92
| version: '3.7'
networks:
kongnet:
driver: bridge
services:
kong-database:
image: postgres:10
restart: always
networks:
- kongnet
environment:
POSTGRES_PASSWORD: kong
POSTGRES_USER: kong
POSTGRES_DB: kong
ports:
- "5432:5432"
volumes:
- /root/postgresql/data:/var/lib/postgresql/10/data
kong_migrations:
image: kong:latest
command: "kong migrations bootstrap"
networks:
- kongnet
restart: on-failure
environment:
KONG_DATABASE: postgres
KONG_PG_HOST: kong-database
KONG_PG_PASSWORD: kong
links:
- kong-database
depends_on:
- kong-database
kong:
image: kong
networks:
- kongnet
restart: on-failure
environment:
KONG_DATABASE: postgres
KONG_PG_HOST: kong-database
KONG_PG_PASSWORD: kong
KONG_ADMIN_LISTEN: 0.0.0.0:8001, 0.0.0.0:8444 ssl
KONG_CASSANDRA_CONTACT_POINTS: kong-database
ports:
- "18000:8000"
- "18443:8443"
- "18001:8001"
- "18444:8444"
links:
- kong-database
depends_on:
- kong-database
- kong_migrations
konga_upgrading:
image: pantsel/konga
command: " -c prepare -a postgres -u postgres://kong:kong@kong-database/konga"
networks:
- kongnet
restart: on-failure
links:
- kong-database
depends_on:
- kong-database
konga:
image: pantsel/konga
restart: always
networks:
- kongnet
environment:
DB_ADAPTER: postgres
DB_HOST: kong-database
DB_USER: kong
DB_PASSWORD: kong
TOKEN_SECRET: kong_consul
DB_DATABASE: konga
NODE_ENV: production
depends_on:
- kong-database
- konga_upgrading
ports:
- "11337:1337"
consul_server_1:
image: consul
ports:
- 8300:8300
- 8301:8301
- 8302:8302
- 8600:8600
- 8500:8500
volumes:
- "/root/consul/data1:/consul/data"
command: "agent -server -bootstrap -ui -client=0.0.0.0"
|
通过Docker-Compose进行安装
1
2
3
4
5
6
7
8
9
| [root@instance-p0a4erj8 kong]# docker-compose up -d
Creating network "kong_kongnet" with driver "bridge"
Creating network "kong_default" with the default driver
Creating kong_kong-database_1 ... done
Creating kong_consul_server_1_1 ... done
Creating kong_konga_upgrading_1 ... done
Creating kong_kong_migrations_1 ... done
Creating kong_konga_1 ... done
Creating kong_kong_1 ... done
|
这个的postgres选择12版本以下的,不然konga会初始化话失败.来看看我们搭建的环境:

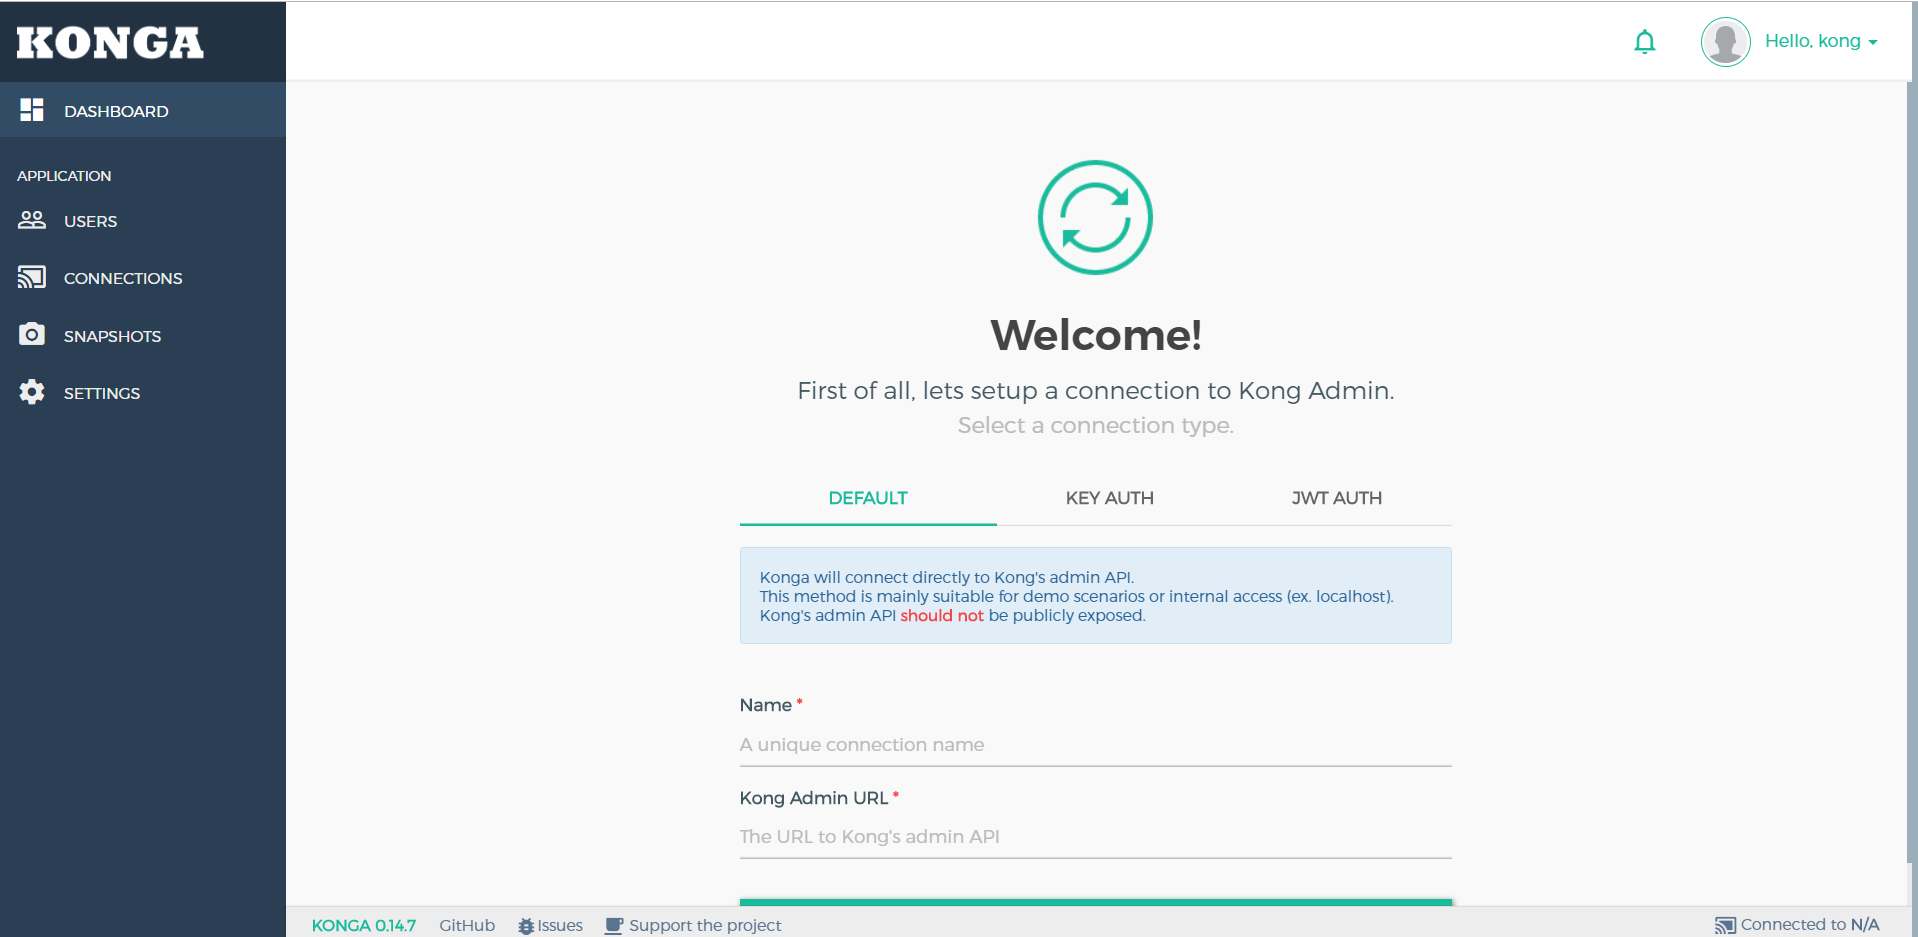
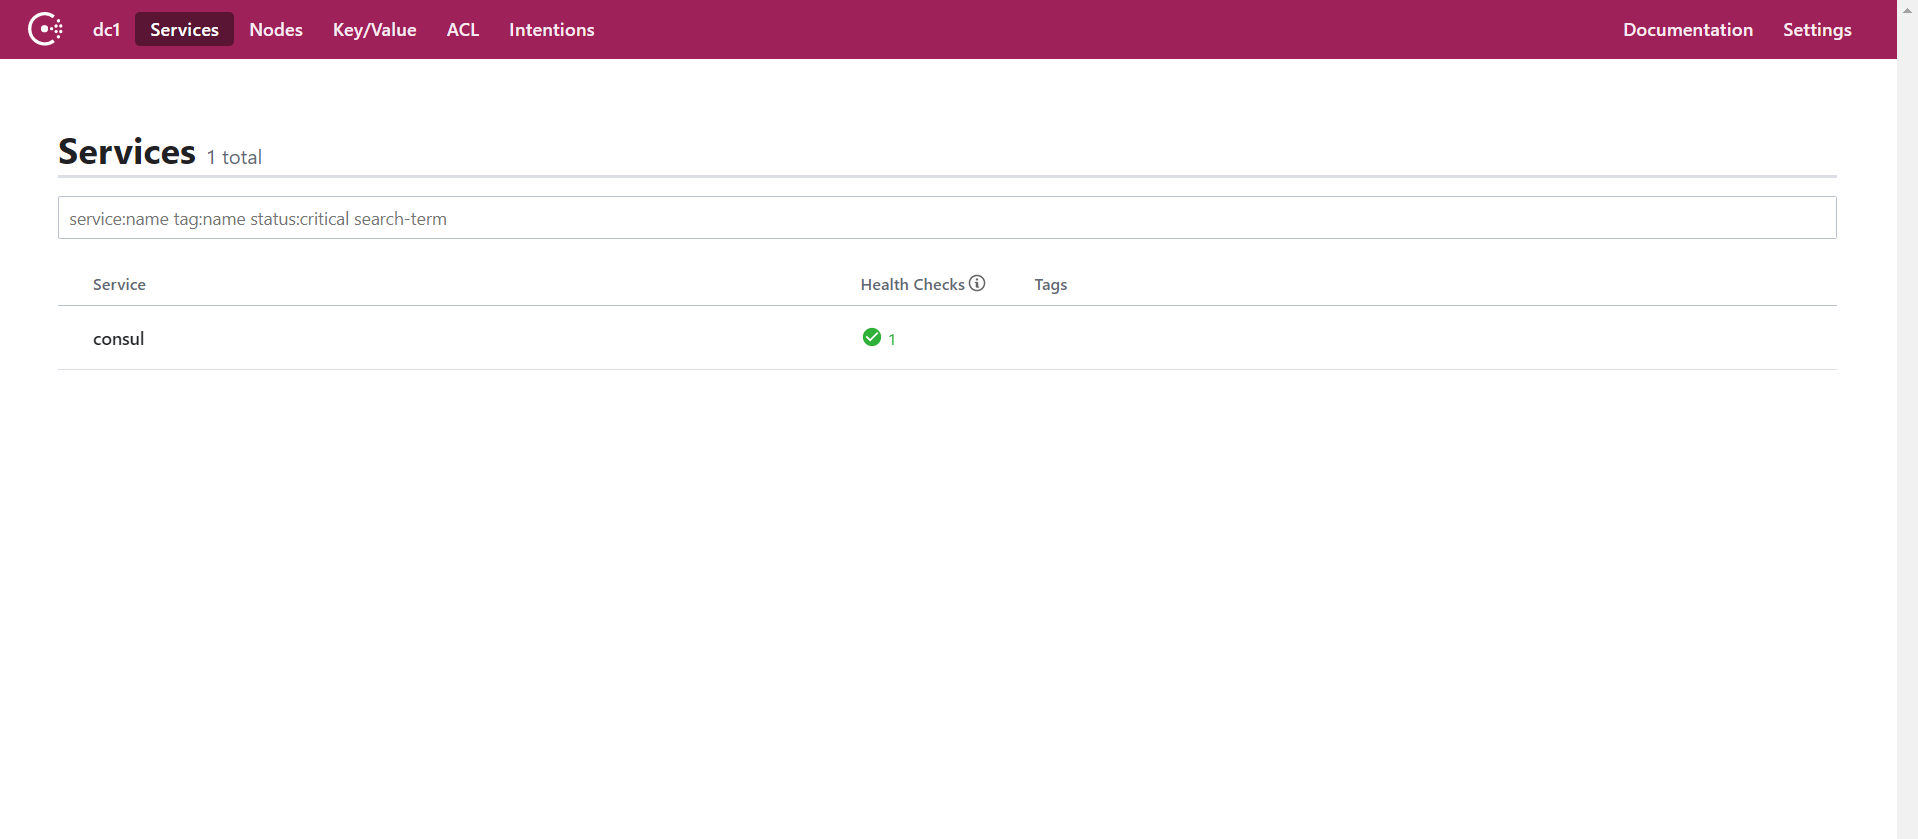
konga是kong的一个UI工具,部署好之后,需要自行注册一个账号。
这里只用Docker搭建的均为单机版,不适合用于生产,后面我们在搭建高可用版本的。
基于Consul实现服务注册发现
这里我新建了两个项目

我先引入Consul组件
基于Kong实现网关
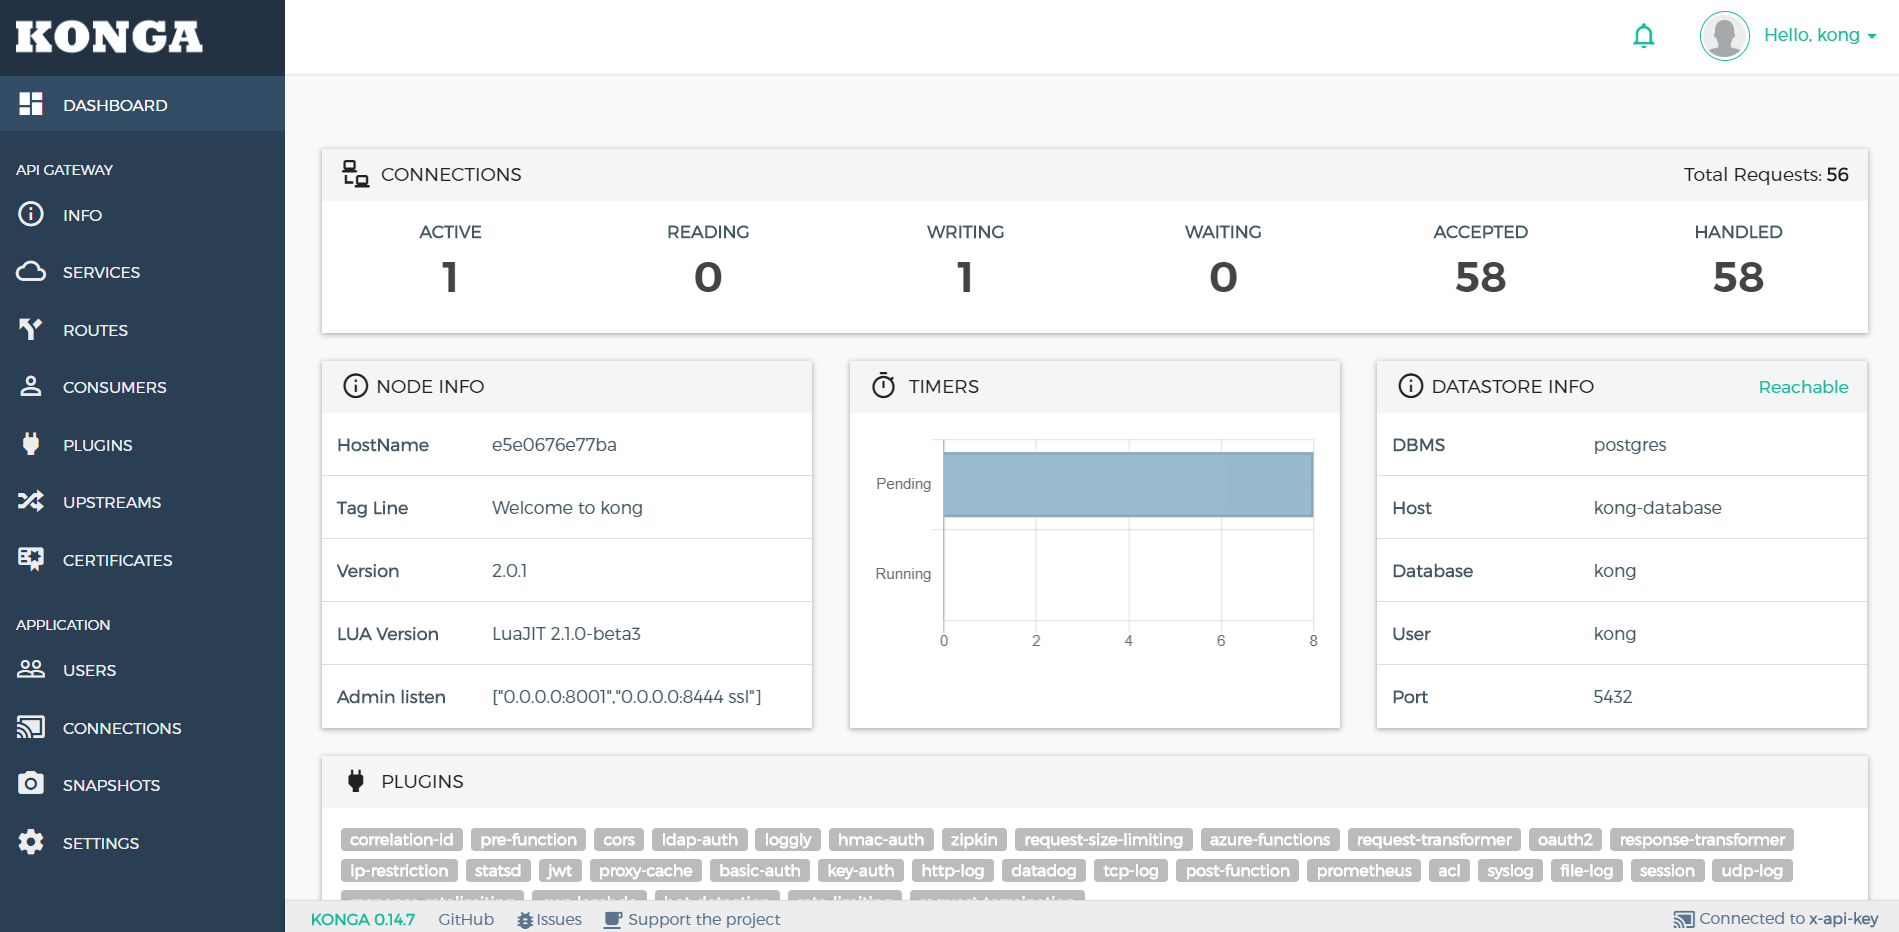
这里我们可以借助KongRegister这时间.net core和Kong的整合。首先,我们进入到Konga,需要创建Kong和Konga的连接关系,这里我选择的是key_auth,我填的参数是
1
2
| NAME:x-api-key
KONG ADMIN URL:http://xxx.xx.xx.xx:18001/
|
我的KongRegister配置如下:
1
2
3
4
5
6
7
8
9
10
| "KongRegister": {
"OnStartup": true,
"KongApiUrl": "http://182.61.35.33:18001",
"KongApiKeyHeader": "x-api-key",
"KongApiKey": "93UUvyz2oXh1bHxLDFs3rL1R2Kuto9Lr",
"UpstreamId": "demo.api.v1.upstream",
"TargetHostDiscovery": "dynamic",
"TargetPortDiscovery": "dynamic",
"TargetWeight": 1000
}
|
首先我们需要在Upstreams中创建一个UpstreamId,不然会提示404
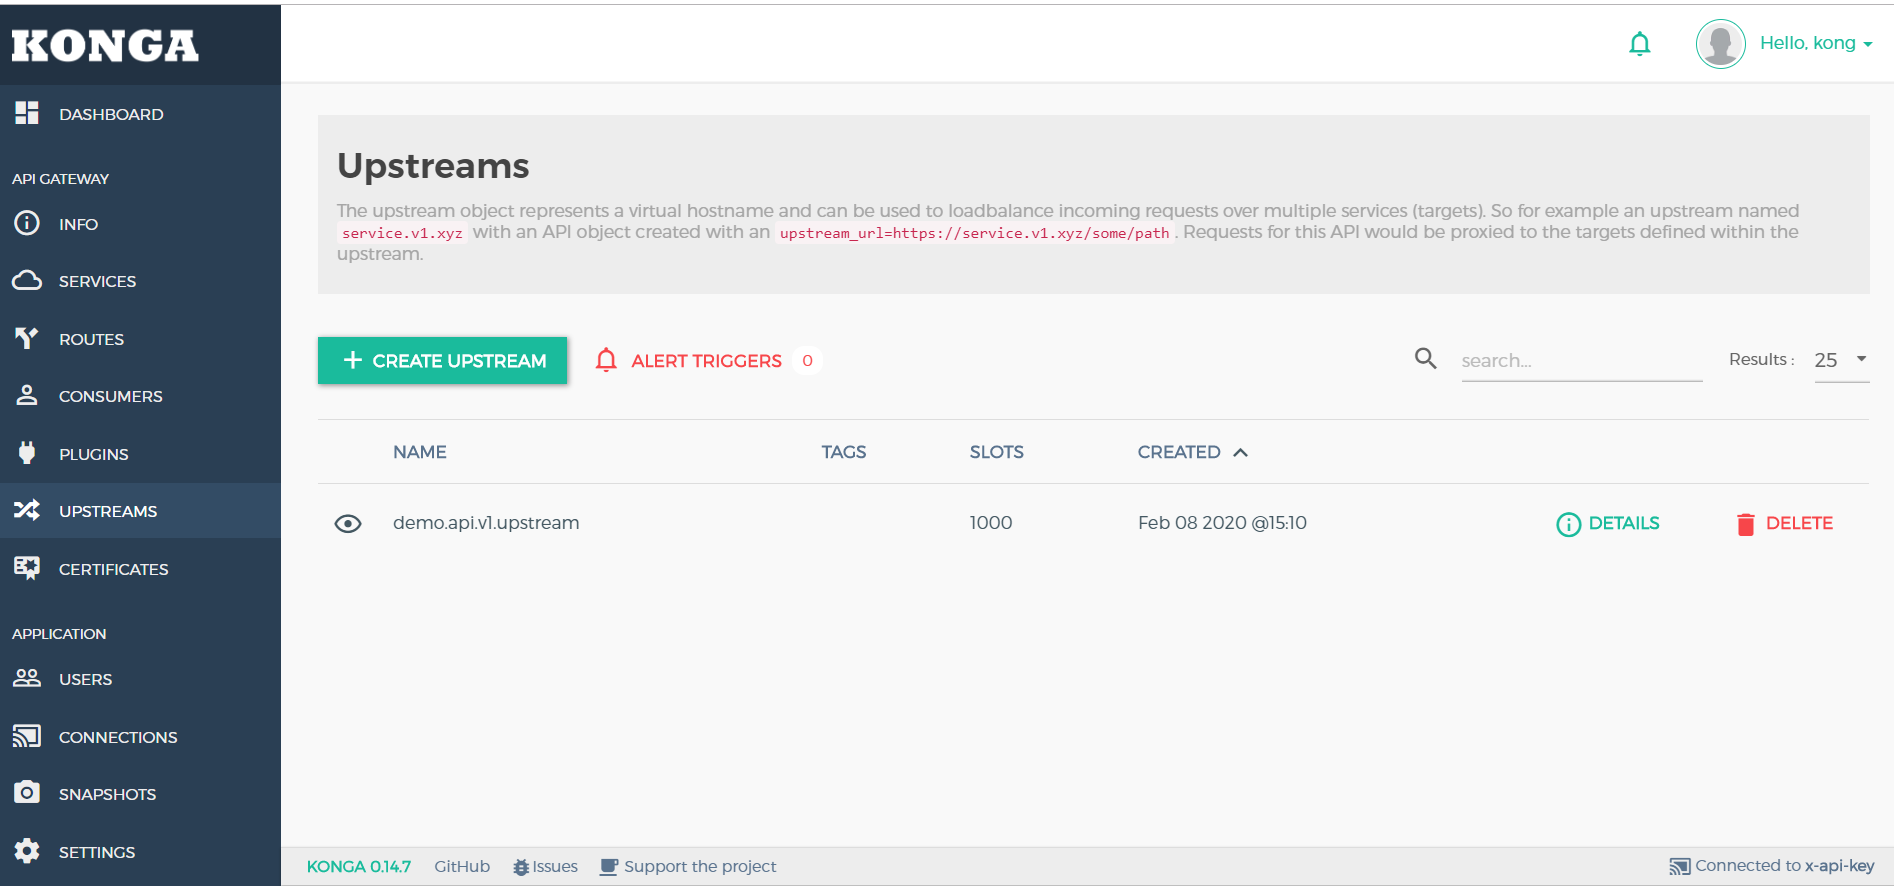
如果TargetHostDiscovery和TargetPortDiscovery使用dynamic参数的话,他会自动注册当前启动的IP和端口
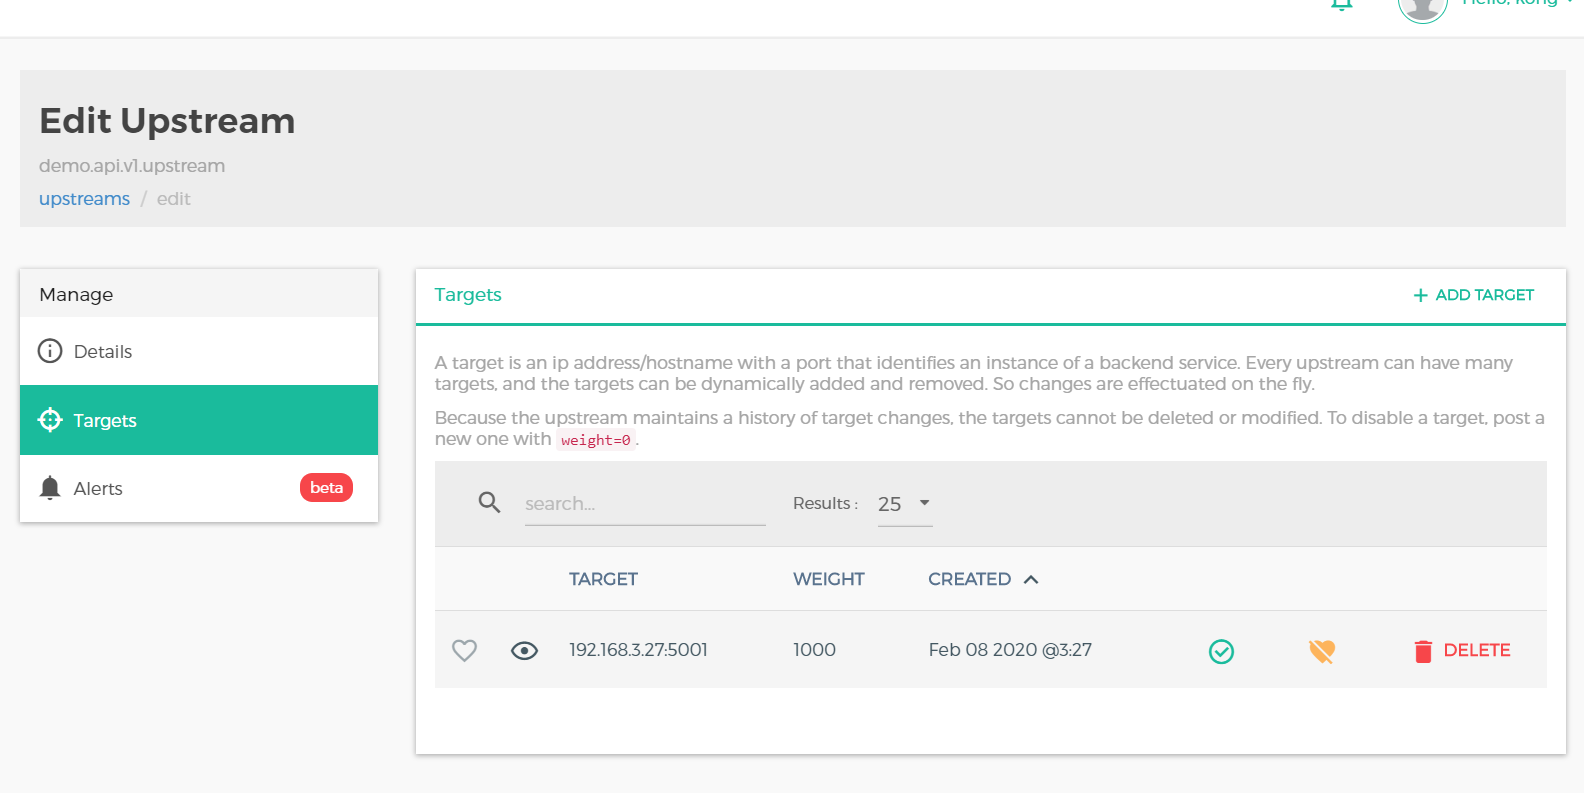 ))
))
因为我的kong和webapi不在同一个网络中,所以这个转发是会失败
上面也只是作了一个 Upstreams注册,实际中还有一些其它的配置因为Kong是基于OpenResty+Lua实现的一个开源网关系统,所以,我们可以借鉴Nginx的配置思想来理解它,要配置一个完整的路由大概结构如下:
1
2
3
4
5
6
7
8
9
10
11
12
13
14
15
16
17
18
19
20
| server {
listen 8000;
server_name localhost;
location / {
#root html;
#index index.html index.htm;
proxy_set_header Host $http_host;
proxy_set_header X-Real-IP $remote_addr;
proxy_set_header X-Forwarded-For $proxy_add_x_forwarded_for;
proxy_set_header X-Forwarded-Proto $scheme;
proxy_pass http://xxx_server_name;
}
}
upstream xxx_server_name{
server 192.168.10.1:80;
server 192.168.10.2:80;
server 192.168.10.3:80;
}
|
我的理解的对应关系是:
| Kong |
Nginx |
| Services |
server |
| Routes |
location |
| Upstreams |
upstream |


 ))
))